1. Obtain a representative concrete sample from the revolving drum truck mixer.
- Ensure all water has been added to the concrete.
- Sample concrete at two or more regularly spaced intervals during discharge of the middle portion of the load.
- Repeatedly pass the receptacle through the entire discharge stream or completely divert the discharge stream into the sample container.
- Transport samples to the place of testing and remix to form a composite sample.
- Obtain the concrete sample within 15 minutes from the start of sampling.
- Start molding cylinders within 15 minutes after fabricating the composite sample.
2. Using a scoop, place concrete in the cylinder molds. For 6 by 12 inch molds, place in three equal layers (1/3 volume per layer) and for 4 by 8 inch molds, place in two equal layers (1/2 volume per layer).
3. Rod each layer 25 times throughout the layer depth distributing the roddings uniformly over the cross section. For subsequent layers, penetrate the previous layers about 1 inch. For 6 by 12 inch molds use a 5/8 inch diameter tamping rod and a 3/8 inch diameter rod for 4 by 8 inch molds.
4. Lightly tap the outside of the mold 10 to 15 times with a rubber mallet to close the voids left by the tamping rod. Use an open hand for single use molds easily damaged by a mallet.
5. Strike off the surface with the tamping rod, handheld float or trowel to produce a flat, even surface. Install the mold cap and move the cylinders to an initial curing place for storage.
6. For initial curing, store cylinders for a period up to 48 hours in a temperature range from 60 to 80° F and protect from moisture loss. For concrete with a specified strength of 6,000 psi or greater, the initial curing temperature range is between 68 and 78° F.
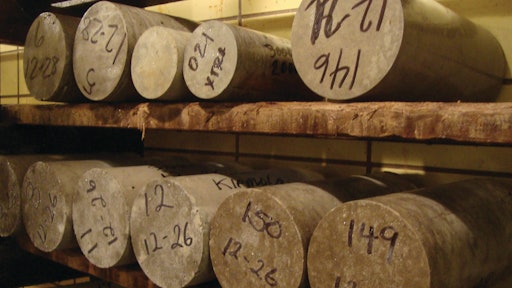
7. After initial curing and within 30 minutes upon removal from molds, start final curing by storing cylinders in a wet environment at a temperature of 73.5 ±3.5° F until tested.









![Glp Porsche 072723 465 64ee42287c29e[1]](https://img.forconstructionpros.com/files/base/acbm/fcp/image/2024/03/GLP_PORSCHE_072723_465.64ee42287c29e_1_.65e88b8589b9c.png?auto=format%2Ccompress&fit=crop&h=135&q=70&rect=0%2C520%2C2250%2C1266&w=240)


